On Friday a fierce cold came over me while I worked. My eyes weeped and my nose sneezed. As the day progressed, I felt so miserable that I skipped the Burns night dinner I had booked that evening – losing the chance to eat oaty haggis and creamy Cranachan. I feared I might have to miss Saturday’s Harrow Beekeepers wax workshop.
Desperately trying to cure myself, I drank two lots of lemsip with honey from my hives and went to bed early. In the morning, I woke to find the wretched sniffing and sneezing had stopped. I can’t prove it was the honey, but I like to think it was.
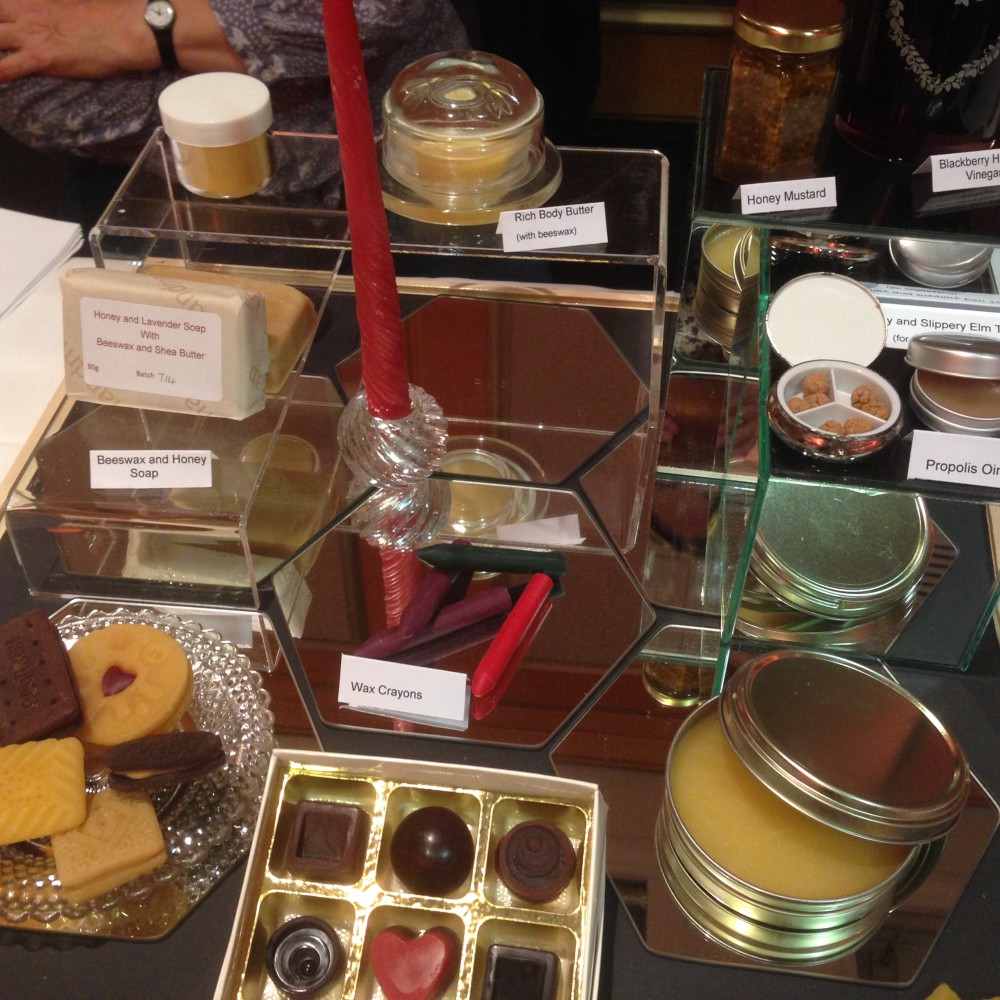
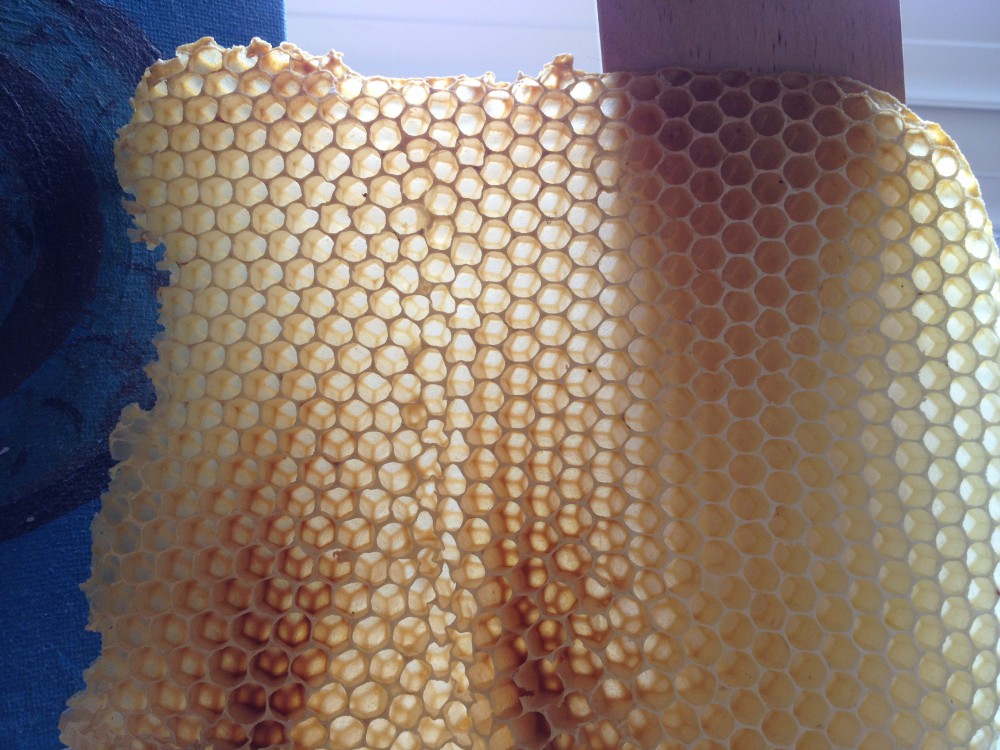
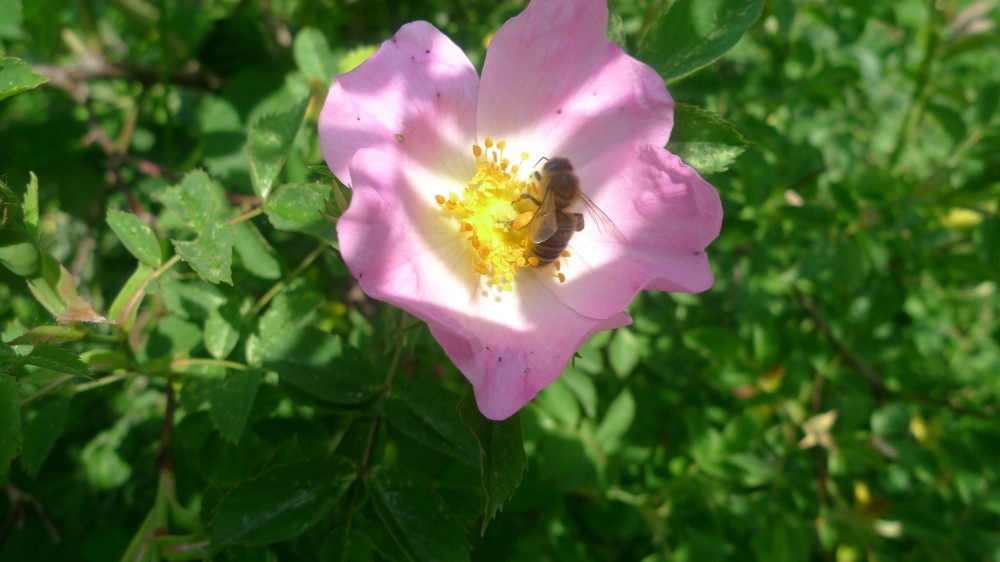
What a relief that I was able to go. The Harrow association had put on a packed practical day of learning how to roll, dip and mould wax candles, plus make furniture polish, soap and hand cream. Wax is a valuable product that beekeepers, including myself, tend to underuse. It takes the bees a considerable amount of energy and effort to produce it, after all – we should value it just as much as honey. It’s excreted from the eight wax glands on the underside of bees’ abdomens, before being kneaded by the bee with its mandibles, adding a secretion from the mandibular glands. A worker bee needs about 4 minutes to complete the preparation of each tiny scale of wax, after which it can be moulded into place to form comb (Jürgen Tautz, The Buzz about Bees (2008).
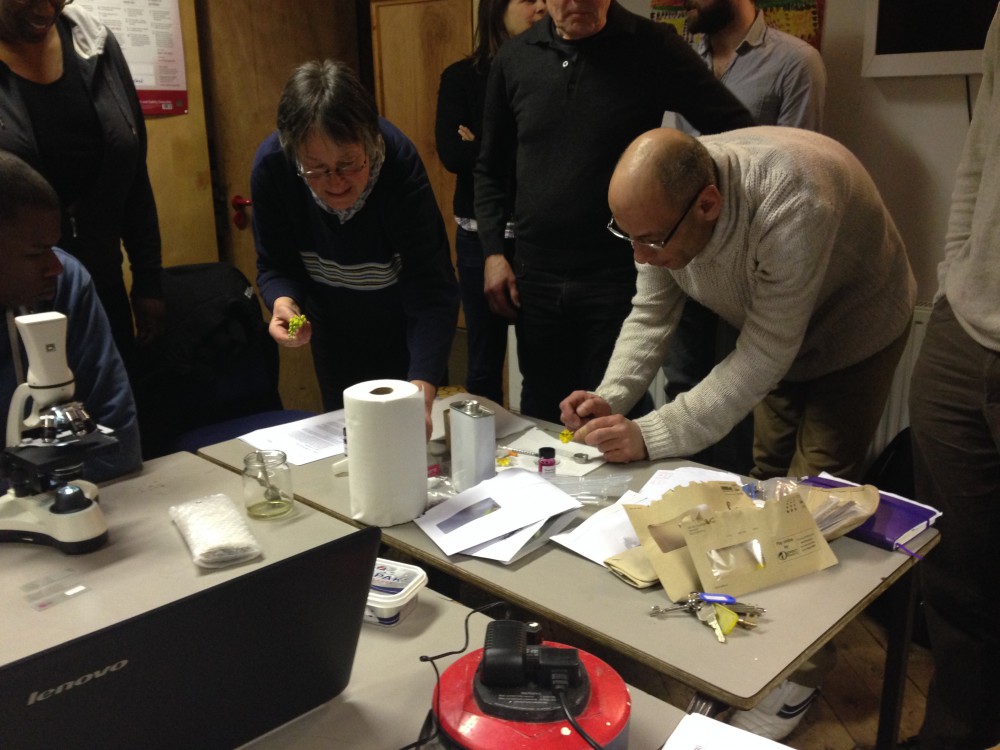
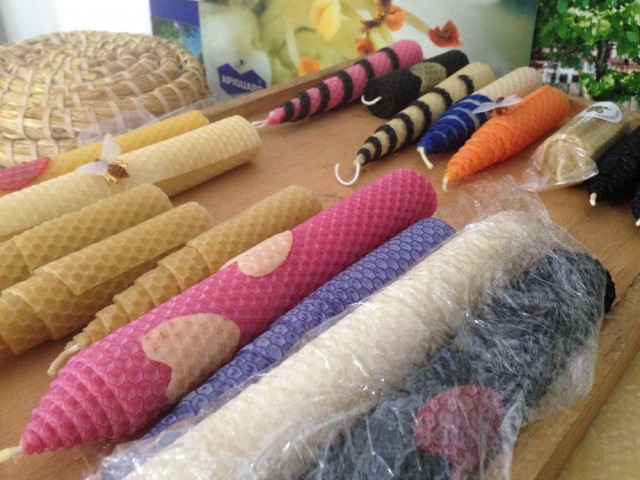
There were twenty of us doing the workshop, split into four groups of five. Each group took it in turn to do an activity with four instructors from Harrow. My group’s first class was candle rolling using wax foundation, taught by Doreen Pattenson. Doreen has a website at nascotwoodbees.co.uk and is on Twitter at . Below you can see some of her expertly rolled candles.
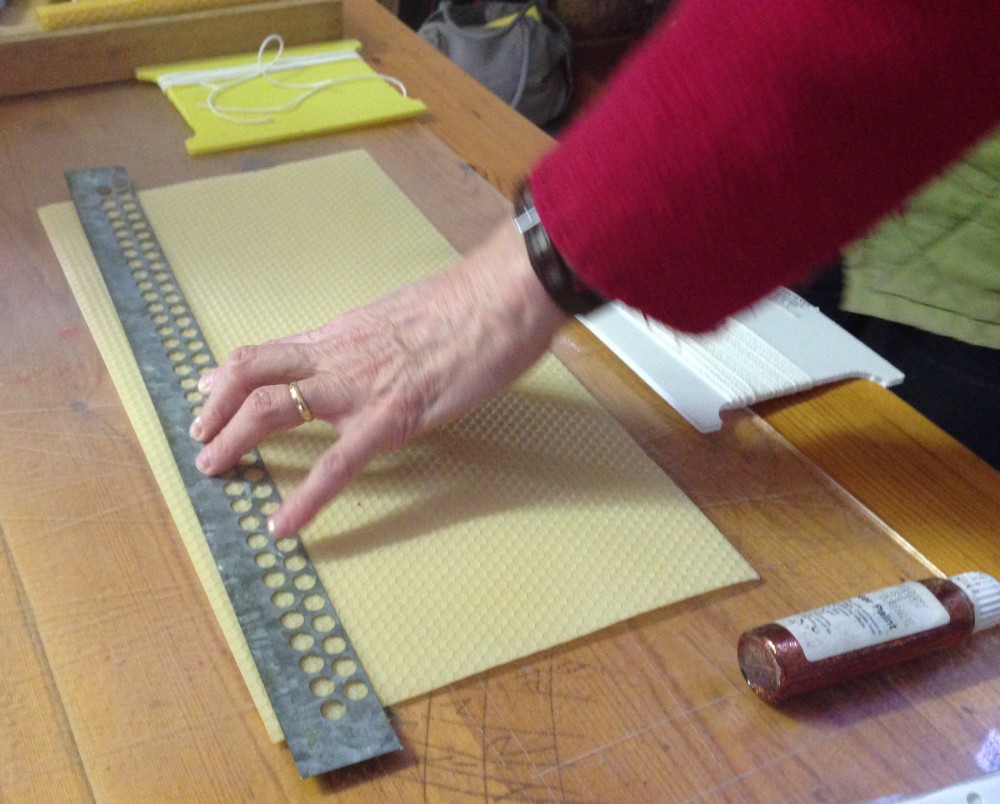
Doreen gave us lots of tips on candle rolling. One was not to do it on a cold day (like it was, being winter). We had a bit of trouble with the wax as it gets quite brittle and cracks easily when cold. She buys her wax foundation from Thornes – thorne.co.uk/candlemaking – and also from kemble-bees.com, which she feels has the best quality wax. It should be unwired, of course. If you buy Langstroth frame sized foundation you get more for your money.
Below she is demonstrating cutting the wax at an angle to start the candle.

Cut your wick to size and dip one end in molten wax. Lay the wick at one end and carefully wrap the foundation tightly around it, as tightly as you can.

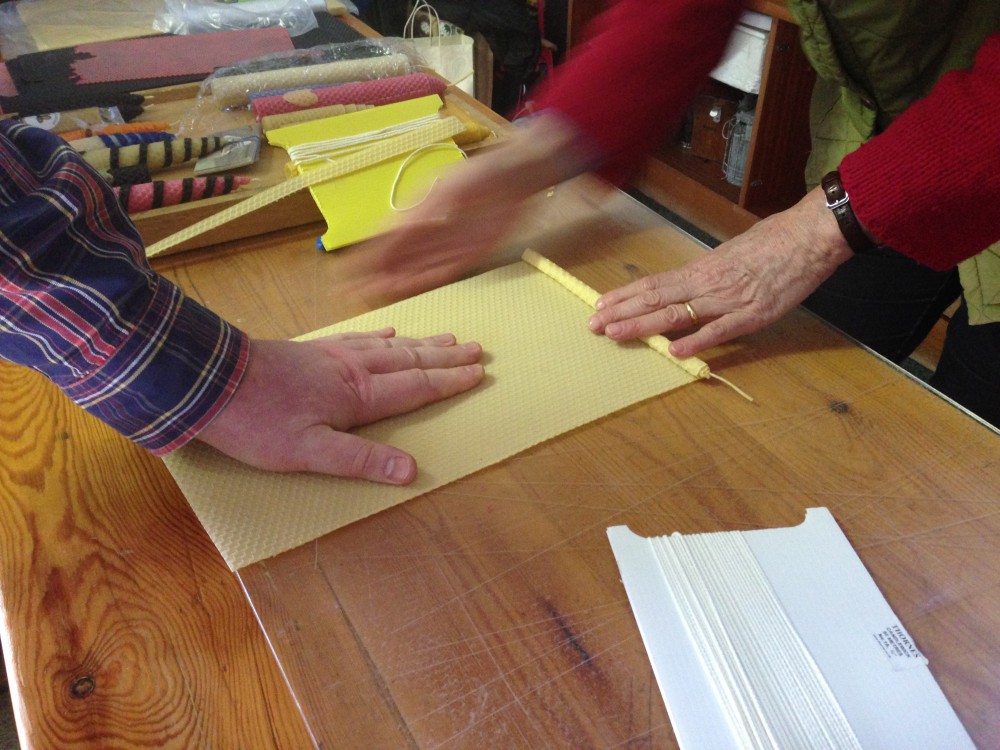
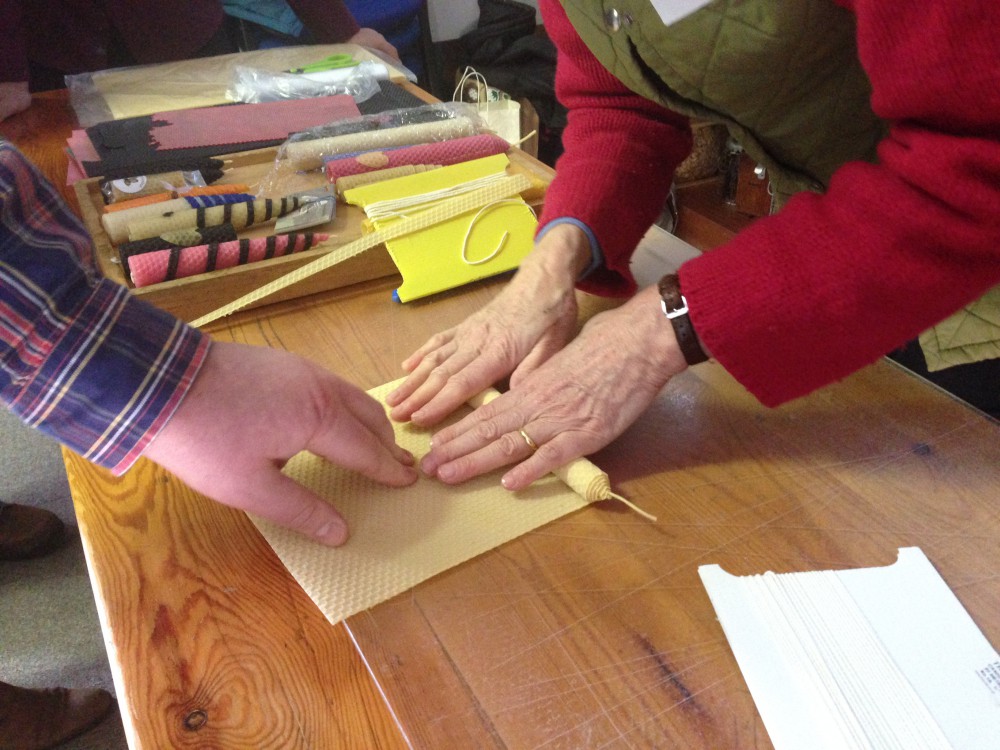
Doreen beginning to roll a candle
Keep rolling till you reach the end. The tighter you’ve rolled it, the longer it will burn. Doreen’s candles were extremely tight.

Doreen rolling a candle
To decorate her candles, Doreen uses cookie cutters to cut out different coloured wax shapes such as little hearts. She then presses these into the rolled candle. If reluctant to stay on, the shapes can be encouraged into place with a hairdryer. But do not overdo the hairdryer, as the candle wax may start to melt and lose its pattern. She also buys little plastic bee pins for extra prettiness.
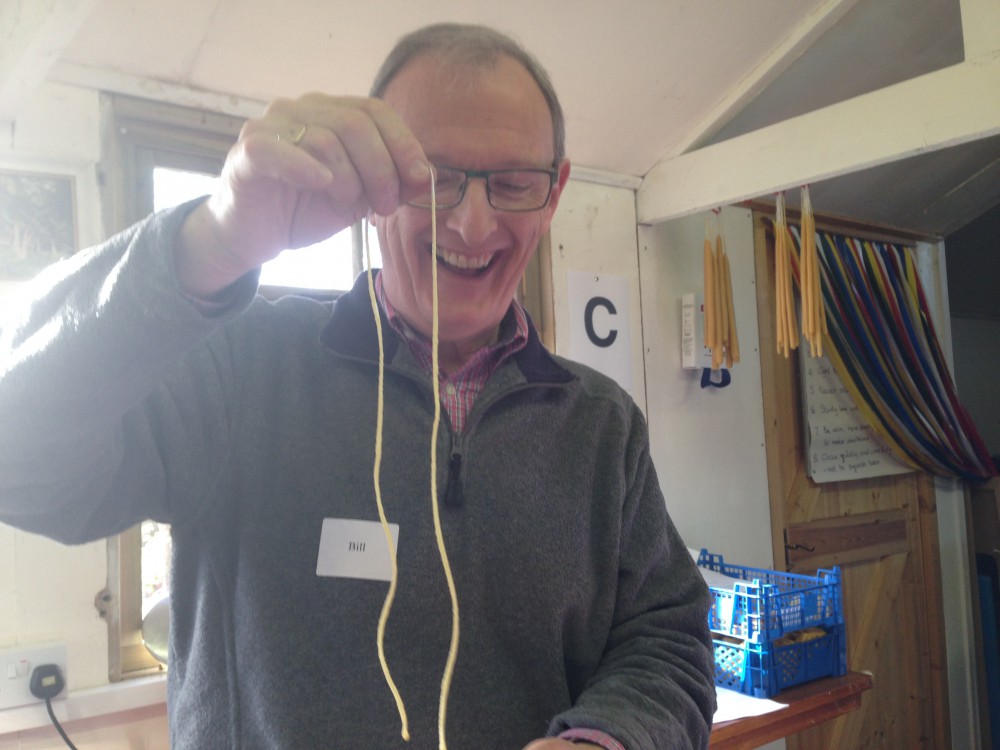
Next we went on to Bill Fitzmaurice, who demonstrated how to make beeswax polish in about ten seconds, followed by how to make dipped candles in considerably longer time.

Bill pouring polish
Prepare your candle wicks for dipping by straightening out the wick, pulling it down gently. You will need a long tall pot – Bill was using an asparagus boiler.

Bill Fitzmaurice preparing candle wick
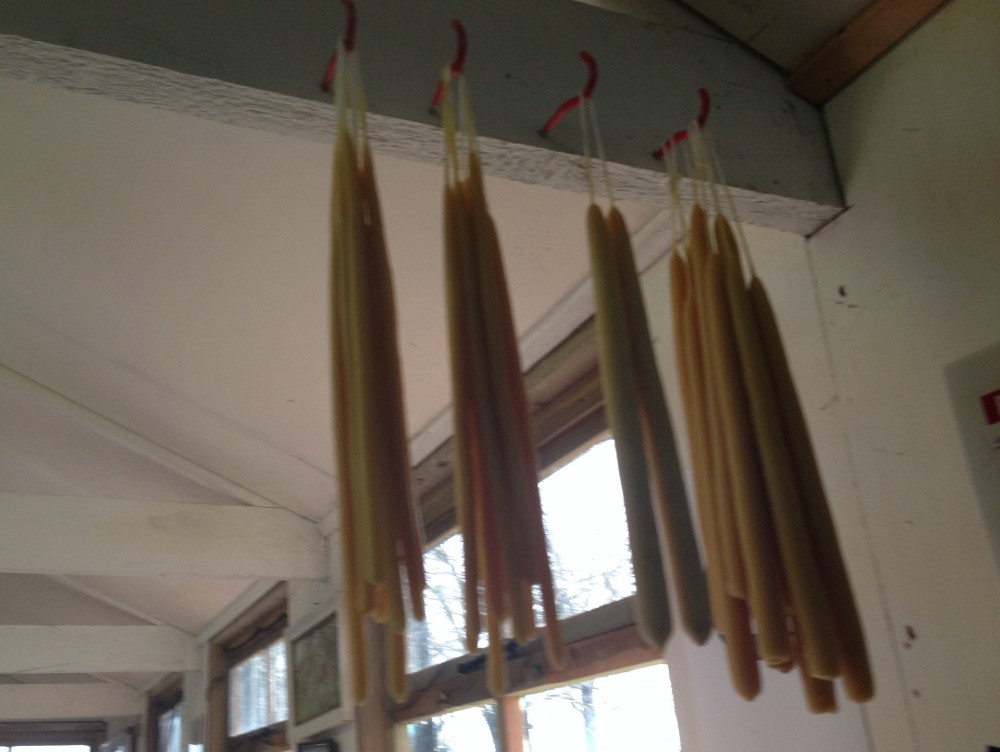
Quickly lower the string into molten wax, then draw it out again, keeping it straight. Repeat until enough wax has built up to look like the examples below. This is how people made candles before they used moulds or rolled sheets of foundation.
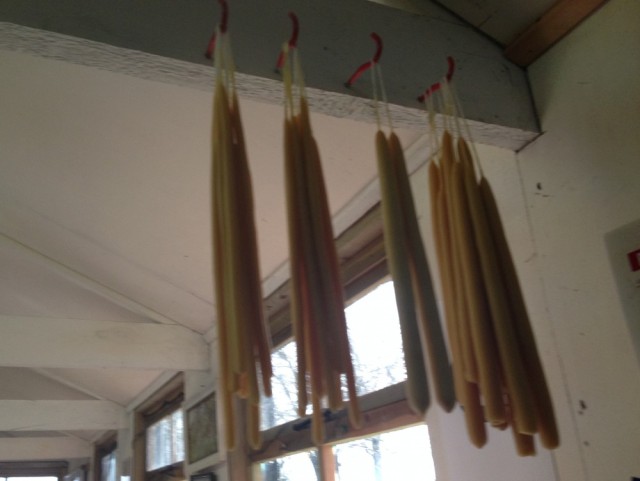
Dipped candles
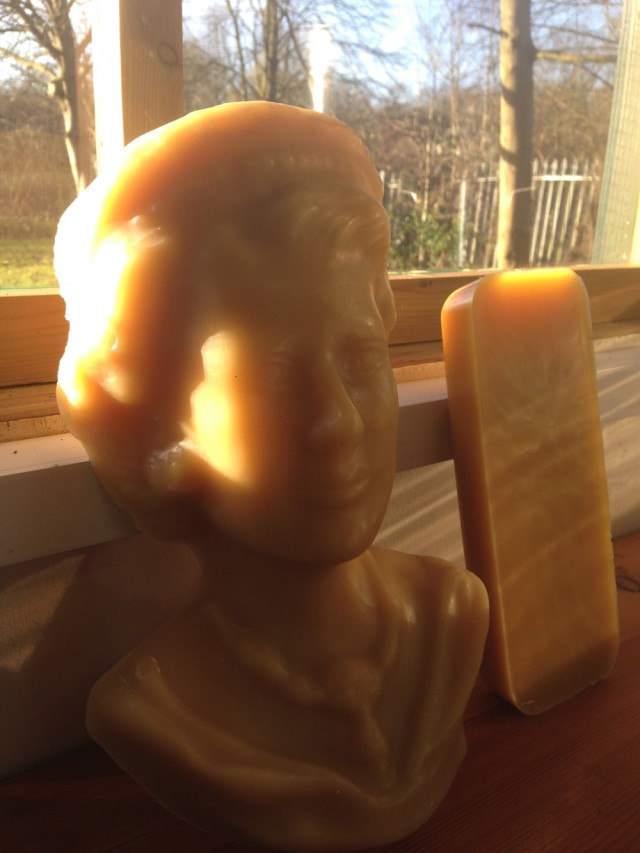
Bill has a winning lady. Here she is in pink.

And here she is in yellow. Smooth and immaculately turned out, yet hefty and capable of giving someone a good whack. Cheaper than the real thing too, as she doesn’t require a palace to live in or a pack of corgis.
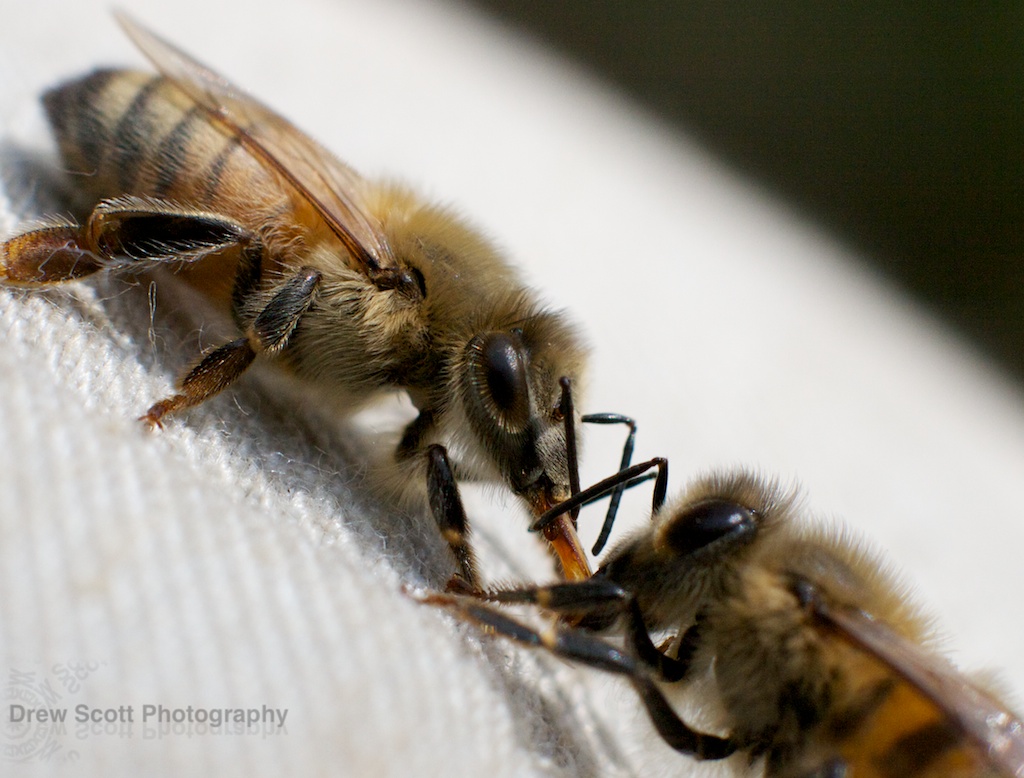
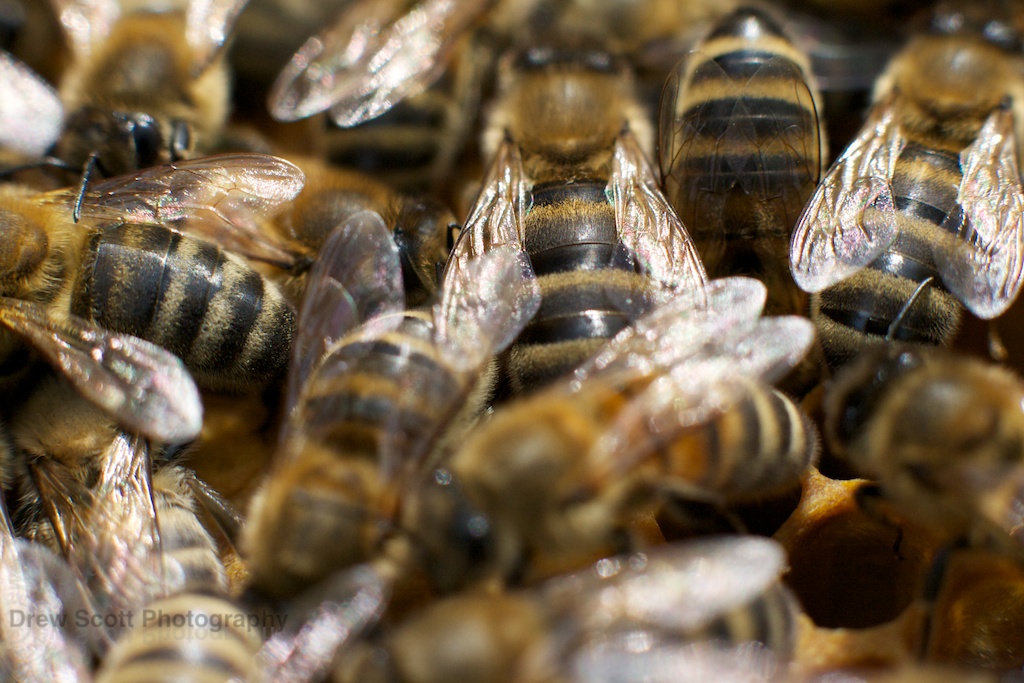
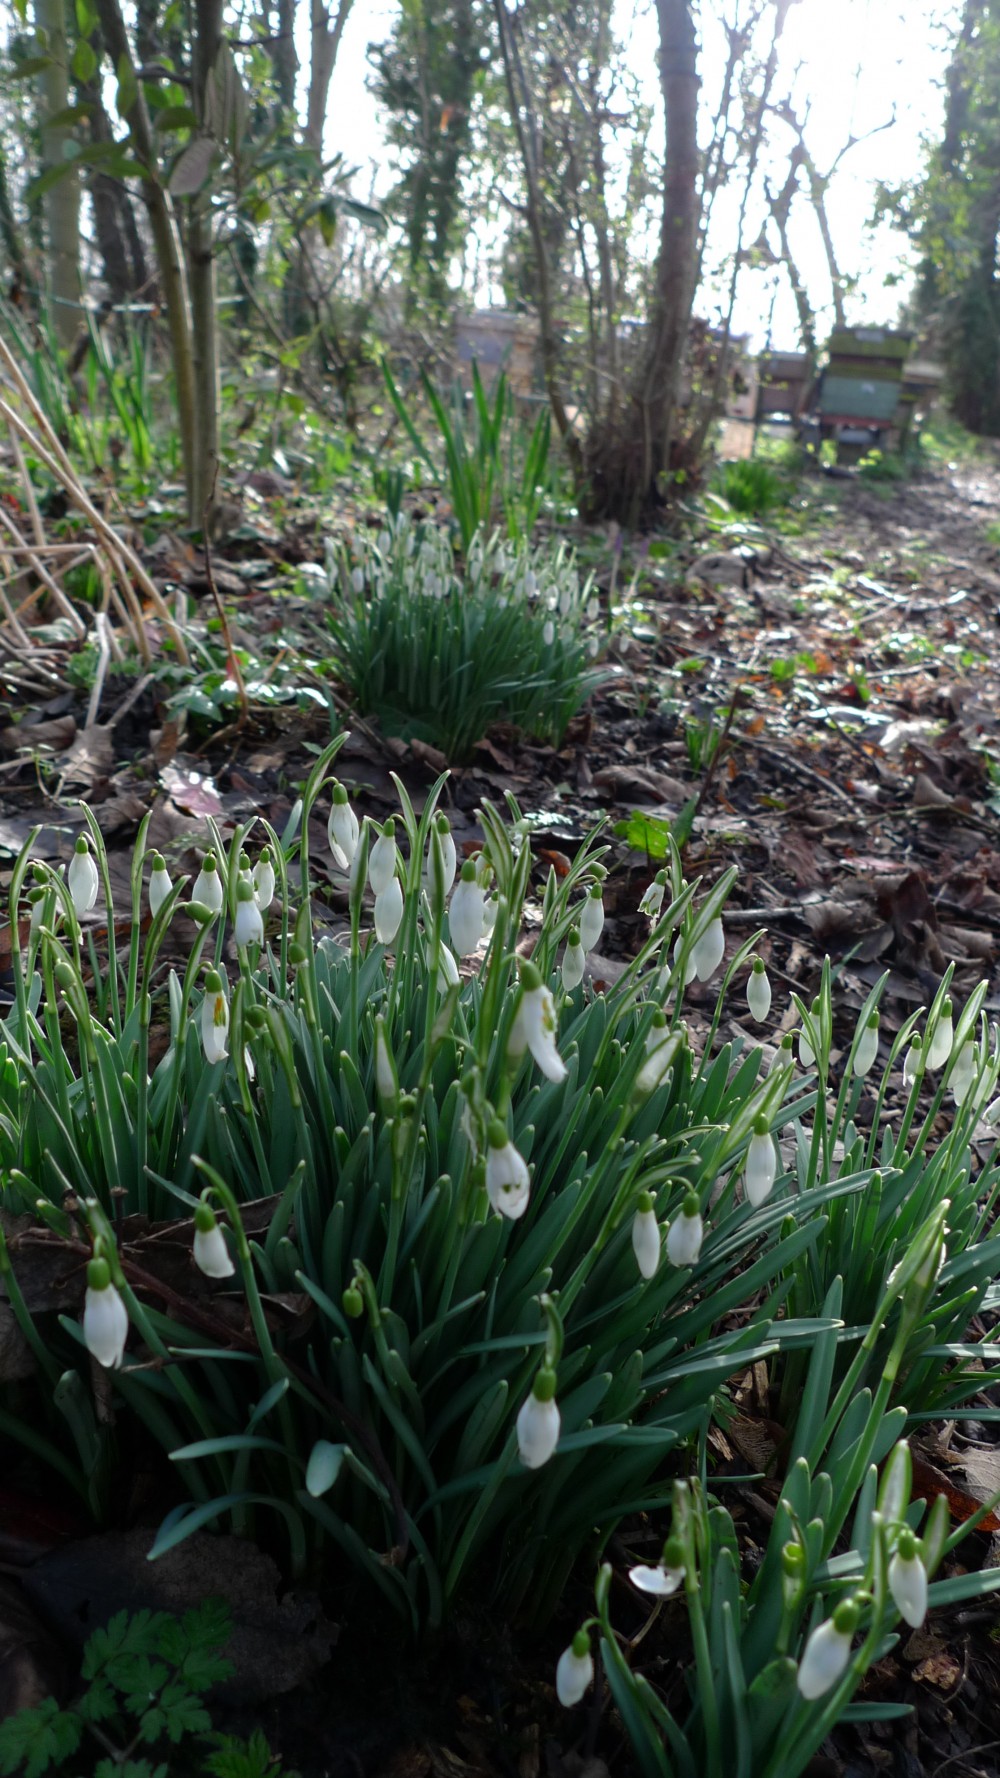
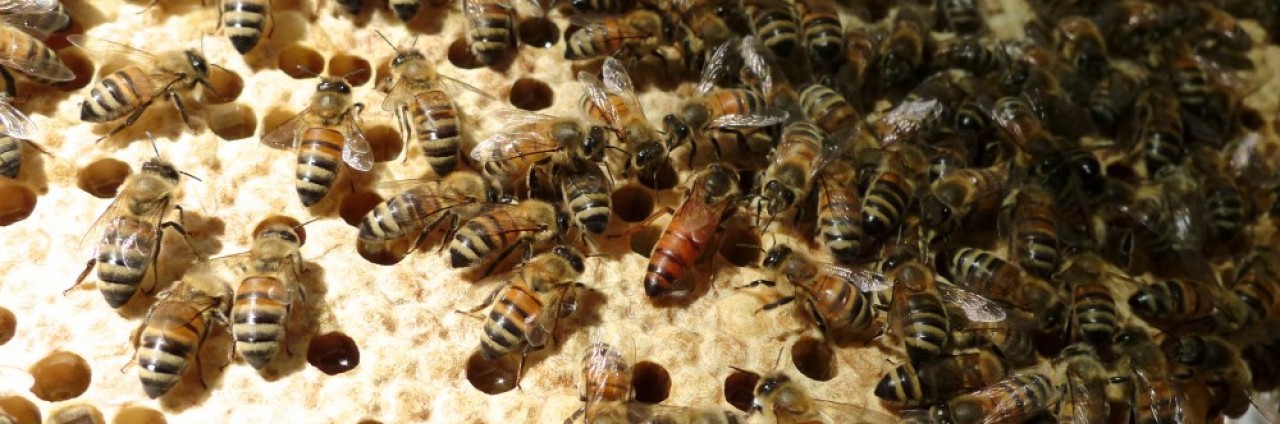
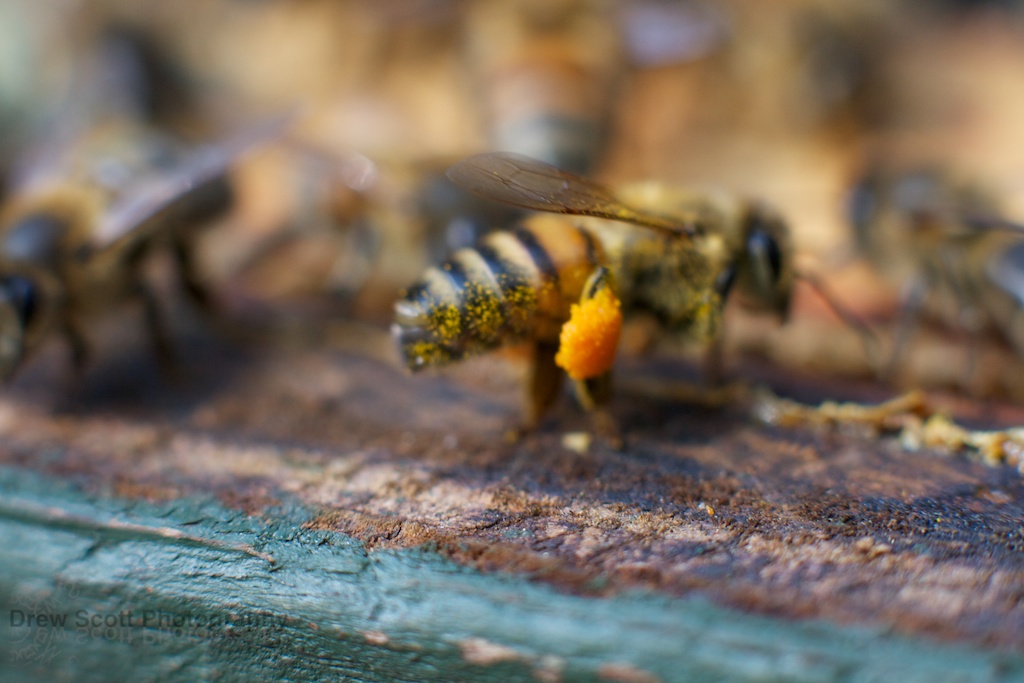
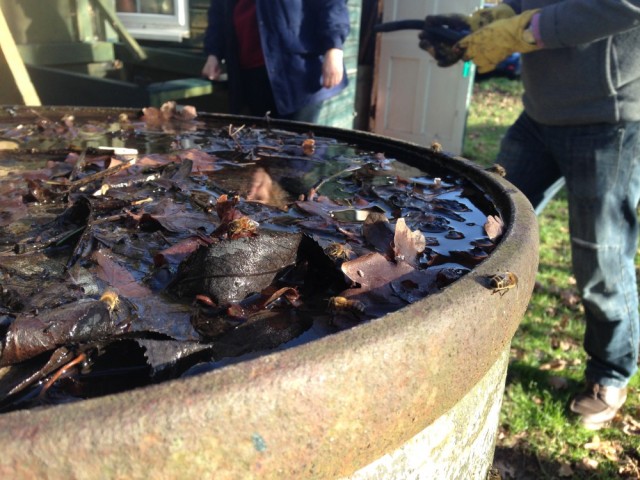
When we stopped for lunch, the bees were busy revelling in the sunshine. Water seemed to be on their minds, probably to dilute honey stores. Harrow have about twenty hives in their apiary, so we had no shortage of curious visitors. Lucky they didn’t know what we were up to with their precious wax.

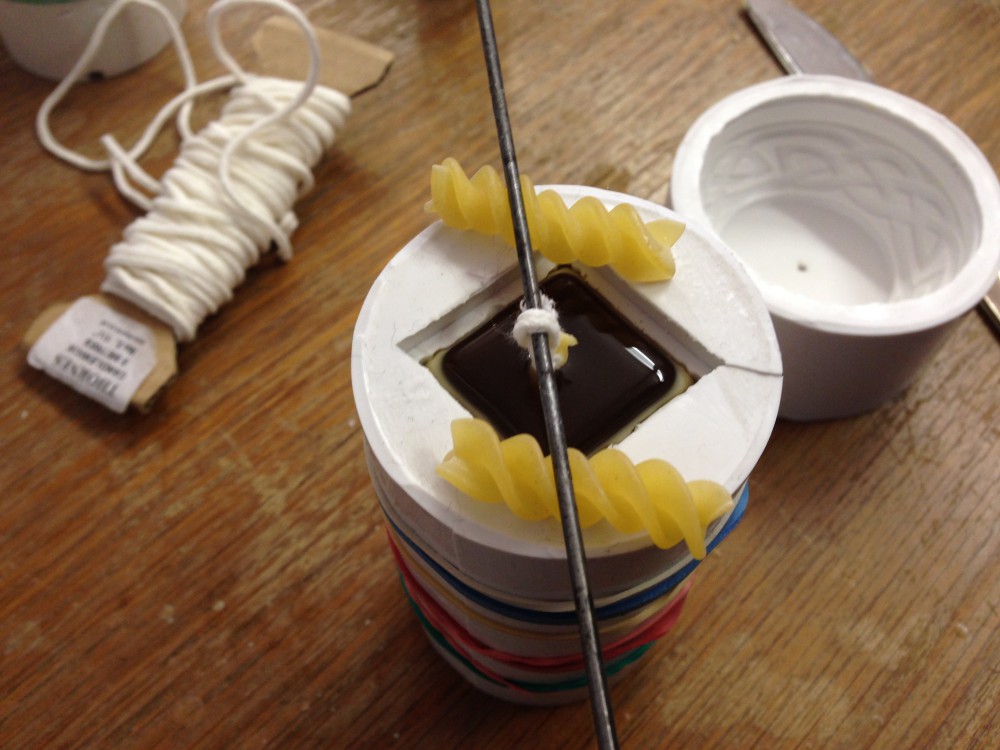
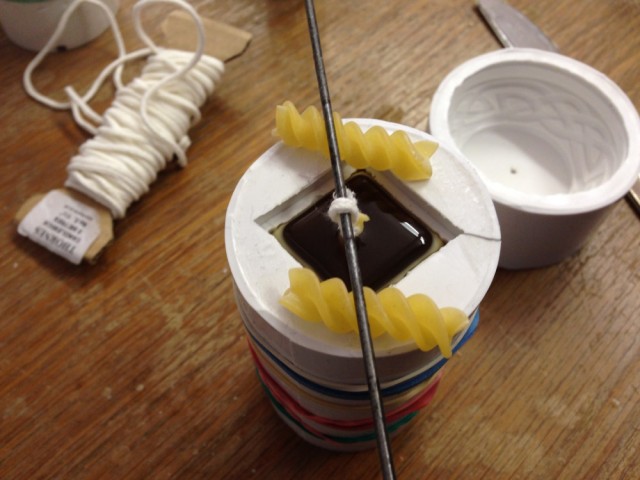
After lunch we had a candle moulding class with Jo Telfer. Jo has a clever trick involving pasta to hold the wick away from the wax when you pour it in. Below is my phone box candle.
And here’s Harrow beekeeper Nabaa pouring wax into her mould. She did the workshop last year and was taking it again because she enjoyed it so much last time.
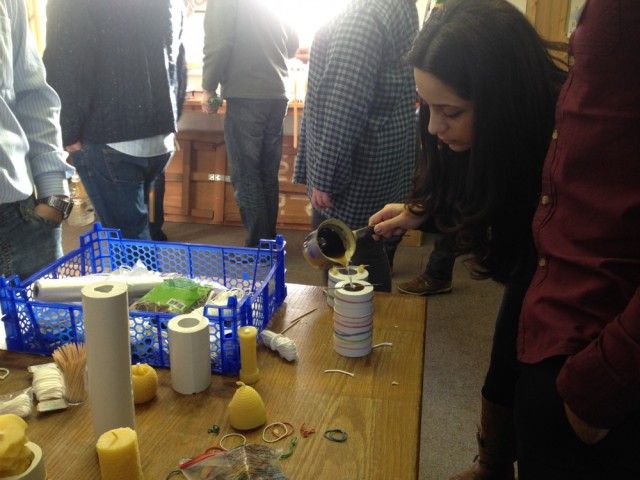
Nabaa pouring wax into candle mould
Finally the last class was with Judy Earl, whose immaculate wax creations have featured on this blog before. No photos from this class, as Judy kept us busy measuring out ingredients and stirring them together to produce delicious smelling cold process soap and hand cream. Goggles and gloves were required.
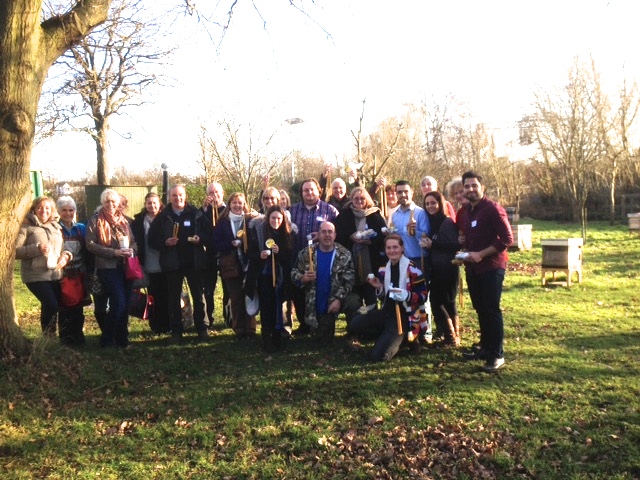
At the end of the day we all had several goodies to take away from each class – our rolled candles, dipped candles, moulded candles, furniture polish, soap and hand cream. Bill sent us this photo yesterday afternoon, along with a nice email which said:
“Just to thank you for coming on the workshop today, a group photo is attached. We really enjoyed running the day and hope it’ll inspire you to make more products from the beeswax you produce. If you have a local Honey show, please consider entering the wax/candle classes, maybe even have a go at the National! “

If you’re interested in going on one of the courses, there are two a year and Bill already has several people on the waiting list for the next one. So get in there quickly – info on the course can be found at harrowbeekeepers.co.uk/node/84
EDIT: See my hive partner Emma’s post ‘A beeswax and lavender butter‘ for a lovely moisturising butter recipe which is easy to make at home.
EDIT 2: Helen Worwood from Epsom Beekeepers has also written a blog post on the workshop, ‘Beeswax treasure‘, with lots of photos of the day and especially the soap making process.


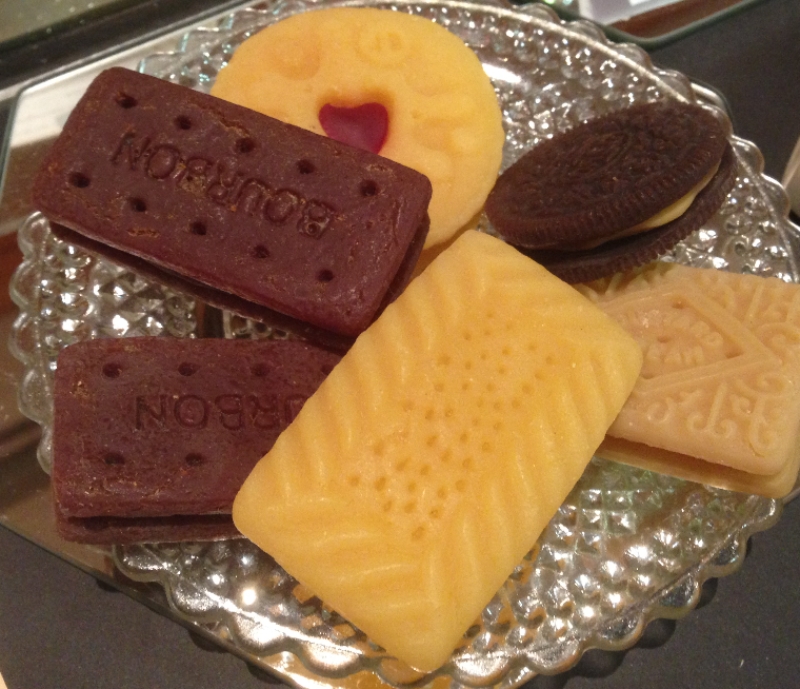
 None of us had brought any cakes, so we had to make do with hot tea and soft biscuits. A cold has kept me sniffling this week and not in the mood for baking, but today I’m feeling better. Standing around the table, stories were told. A decorator who wanted to charge £450 to put up wallpaper in a small box room. Students paying £500 a week to rent a room. Poor Stan has had to deal with a new enemy – a fox who was seen knocking two of his hives over and eating the contents. Let’s hope more foxes don’t pick up this trick.